

How to install an orbital motor?
As a trusted supplier of orbital motors, I've witnessed firsthand the significance of proper installation in ensuring the optimal performance and longevity of these essential hydraulic components. In this blog post, I'll share a comprehensive guide on how to install an orbital motor, drawing on my years of experience in the industry.
Pre-Installation Preparations
Before you begin the installation process, it's crucial to take the necessary precautions and make the appropriate preparations. This will not only ensure a smooth installation but also prevent potential issues down the line.
Gather the Required Tools
First and foremost, gather all the tools you'll need for the installation. This typically includes wrenches, sockets, a torque wrench, a seal installer, and a clean cloth. Having the right tools on hand will make the installation process more efficient and reduce the risk of damaging the motor or other components.
Inspect the Motor and Components
Thoroughly inspect the orbital motor and all associated components before installation. Check for any signs of damage, such as cracks, dents, or leaks. Ensure that all ports are clean and free of debris, and that the mounting surfaces are flat and smooth. If you notice any issues, contact your supplier immediately for assistance.
Review the Installation Manual
Every orbital motor comes with a detailed installation manual that provides specific instructions and guidelines for installation. Take the time to review this manual carefully before you begin the installation process. Familiarize yourself with the motor's specifications, mounting requirements, and hydraulic connections. Pay close attention to any torque values or special procedures outlined in the manual.
Prepare the Mounting Surface
The mounting surface for the orbital motor must be clean, flat, and free of any burrs or irregularities. Use a clean cloth to wipe down the mounting surface and remove any dirt or debris. If necessary, use a file or sandpaper to smooth out any rough spots. Ensure that the mounting holes are properly aligned and that the bolts are the correct size and length.
Installation Process
Once you've completed the pre-installation preparations, you're ready to begin the installation process. Follow these steps carefully to ensure a successful installation.
Mount the Motor
Carefully position the orbital motor on the mounting surface, aligning the mounting holes with the corresponding holes on the equipment. Insert the mounting bolts through the holes and hand-tighten them. Use a torque wrench to tighten the bolts to the specified torque value, following the sequence outlined in the installation manual. Over-tightening the bolts can damage the motor or the mounting surface, while under-tightening can cause the motor to vibrate or come loose during operation.
Connect the Hydraulic Lines
The next step is to connect the hydraulic lines to the orbital motor. Identify the inlet and outlet ports on the motor, and match them to the corresponding ports on the hydraulic system. Use the appropriate fittings and seals to make the connections, ensuring a tight and leak-free fit. Tighten the fittings to the specified torque value, using a torque wrench. Be careful not to overtighten the fittings, as this can damage the threads or cause the seals to fail.
Bleed the System
After connecting the hydraulic lines, it's important to bleed the system to remove any air that may have entered the lines during installation. This can be done by opening the bleed valves on the motor and the hydraulic system, and allowing the fluid to flow until all the air has been purged. Once the system is bled, close the bleed valves tightly.
Check the Alignment
Before starting the motor, check the alignment of the drive shaft and the load. Ensure that the shaft is properly aligned with the motor's output shaft, and that there is no excessive play or misalignment. Misalignment can cause premature wear and damage to the motor and other components, and can also affect the performance of the equipment.
Test the Motor
Once the installation is complete, it's time to test the motor. Start the hydraulic system and gradually increase the pressure to the recommended operating level. Observe the motor for any signs of vibration, noise, or leaks. Check the temperature of the motor and the hydraulic fluid, and ensure that they are within the normal operating range. If you notice any issues, stop the motor immediately and investigate the cause.
Post-Installation Checks
After testing the motor, it's important to perform a final inspection to ensure that everything is working properly. Check the hydraulic lines for any signs of leaks, and tighten the fittings if necessary. Inspect the mounting bolts to ensure that they are still tight, and check the alignment of the drive shaft and the load. Clean up any spills or debris, and store the tools in a safe place.
Conclusion
Installing an orbital motor requires careful planning, preparation, and attention to detail. By following the steps outlined in this guide and referring to the installation manual provided by your supplier, you can ensure a successful installation and optimal performance of your orbital motor. If you have any questions or need further assistance, don't hesitate to contact your supplier. We're here to help you get the most out of your orbital motor and ensure the smooth operation of your equipment.

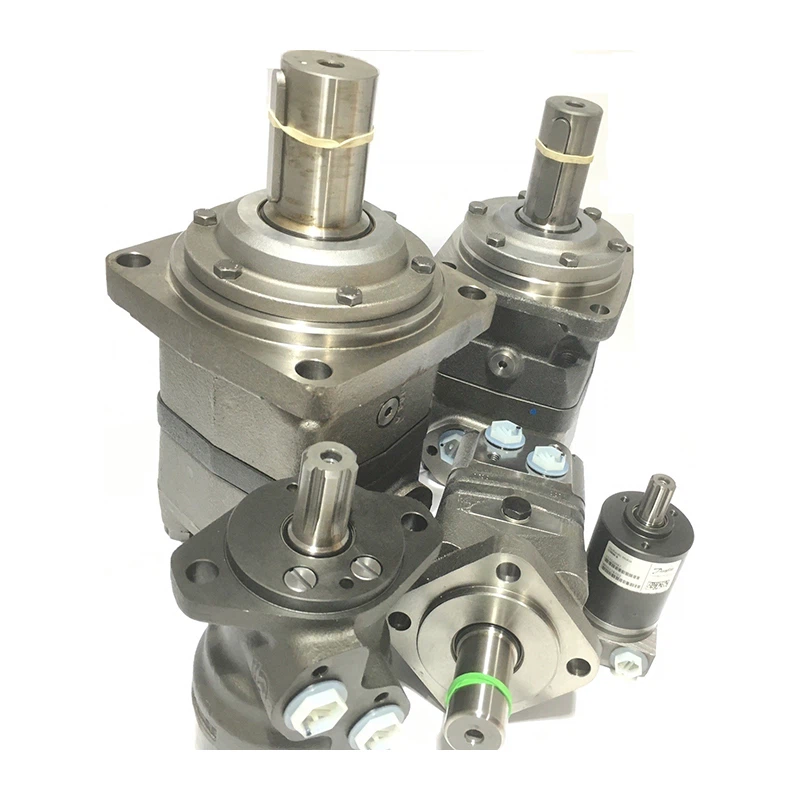
As a leading supplier of Steering Orbital Motor, Orbital Steering Motor, and Orbital Hydraulic Steering Motor, we offer a wide range of high-quality products to meet your specific needs. Our experienced team of professionals is dedicated to providing exceptional customer service and technical support. If you're interested in purchasing an orbital motor or have any questions about our products, please feel free to contact us. We look forward to working with you and helping you find the perfect solution for your application.
References
- Manufacturer's Installation Manual for Orbital Motors
- Hydraulic System Design and Installation Guidelines